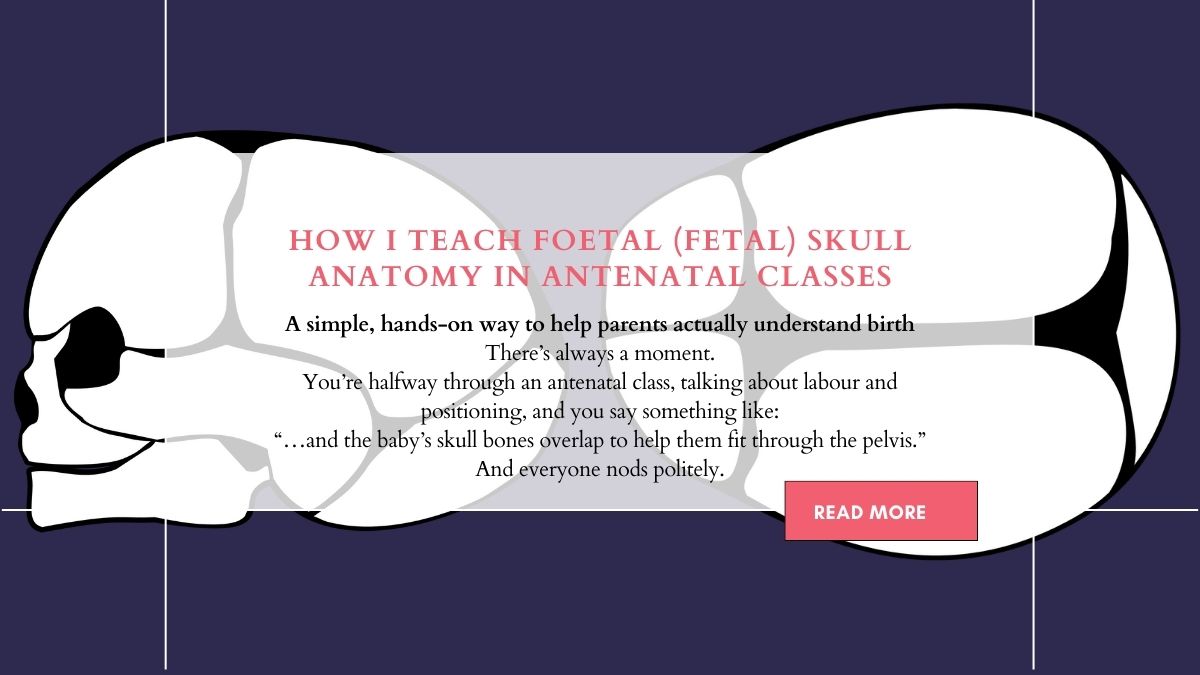
A simple, hands-on way to help parents actually understand birth
There’s always a moment.
You’re halfway through an antenatal class, talking about labour and positioning, and you say something like:
“…and the baby’s skull bones overlap to help them fit through the pelvis.”
And everyone nods politely.
But you can see it.
They don’t really see it.
Unless you work in birth or anatomy every day, these phrases might as well be in another language. Terms like sutures, fontanelles, moulding, and occiput can be confusing.
I used to explain it with words alone.
Then with a quick sketch.
Then with a slightly wobbly pelvis model that got passed around the room like a party prop.
It worked… sort of.
But when I started using clear, printable foetal (fetal) skull anatomy worksheets, something changed completely.
People stopped nodding.
They started going,
“Ohhhhhh — THAT makes sense now.”
And honestly? That’s the best sound in teaching.
Why foetal skull anatomy matters so much in birth education
If you teach antenatal classes, childbirth education, or Family & Consumer Science, you already know this:
Understanding the foetal skull unlocks everything else.
Suddenly parents understand:
- how babies rotate during labour
- why labour can take time
- what “moulding” really means
- how the fontanelles (soft spots) protect the brain
- why positioning matters
- what midwives and doctors are feeling for during exams
- why some births feel straightforward and others need a bit more patience
It takes birth from mysterious and scary…
to logical and manageable.
And when something feels logical, it feels less frightening.
That’s huge.
Especially for first-time parents.
The problem with teaching it from memory (or a textbook)
Foetal skull anatomy is very much a see-it-to-get-it topic.
It’s 3D.
It moves.
The bones overlap.
A flat textbook diagram or slide doesn’t quite cut it.
And not everyone has a pelvis and doll model handy (or enough for a whole group).
Plus, drawing skull diagrams on a whiteboard while everyone waits?
We’ve all done it. It’s not our finest artistic hour.
This is where simple, printable foetal/fetal skull anatomy diagrams and labelling worksheets quietly save the day.
Low tech. Zero stress. Surprisingly effective.
What this looks like in my classes
Here’s the flow I use now — and it works every time.
We start with curiosity
I ask:
“What do you think is different about a baby’s skull compared to ours?”
People guess:
“Softer?”
“Not joined yet?”
“More flexible?”
Perfect.
They’re already halfway there.
Then we look at it together
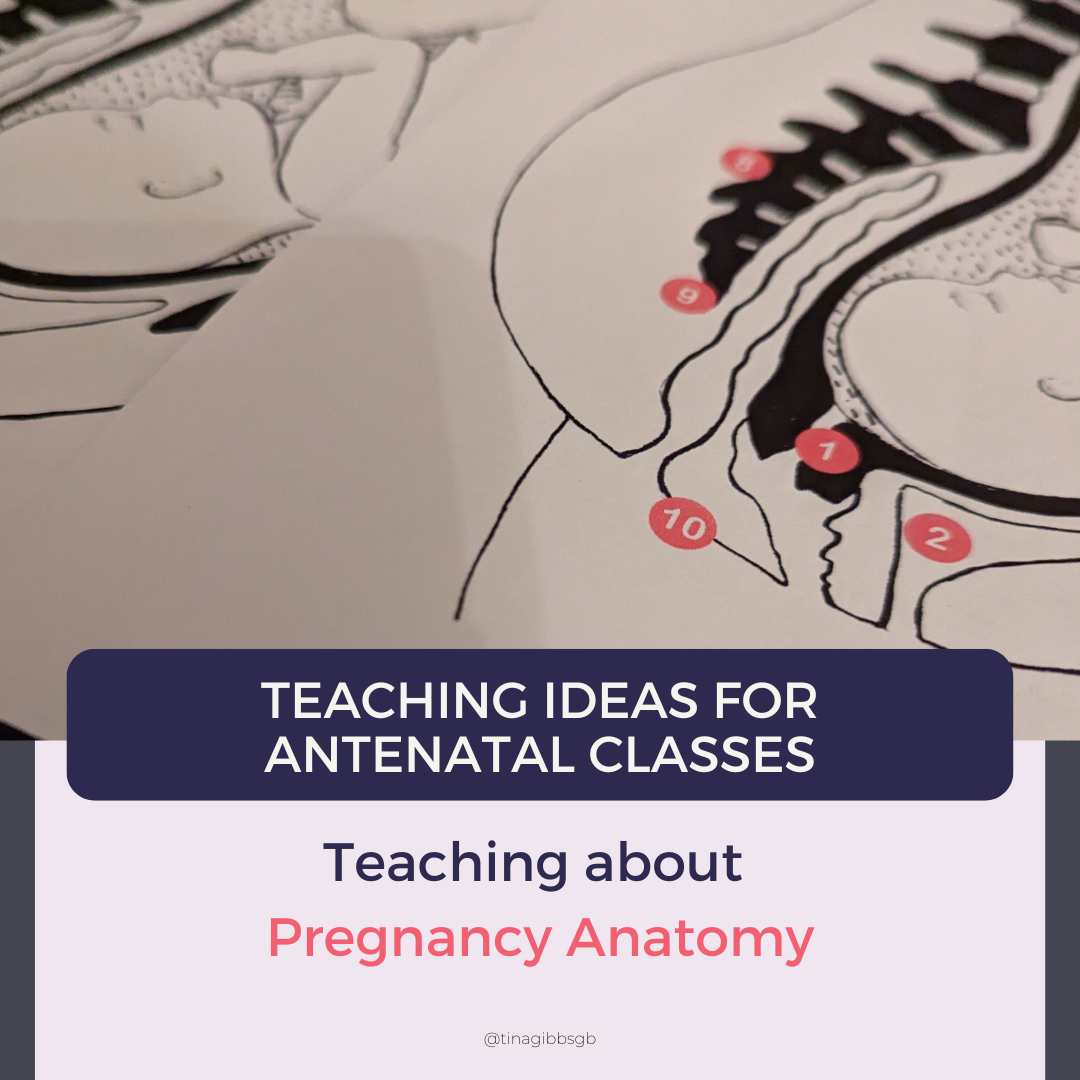
I hand out a clear labelled foetal skull diagram — side view and top (bird’s-eye) view.
Straight away, the pieces click:
Parietal bones.
Sutures.
Fontanelles.
Occiput.
Instead of abstract words, they’re real shapes they can point to.
You can almost see the mental puzzle assembling.
Next comes the hands-on bit (the magic part)
I give them an unlabelled worksheet or understood cut-and-stick labels and let them mark it themselves.
It slows things down in the best way.
There’s chatting.
Comparing answers.
Little “wait, is this the anterior fontanelle?” moments.
That active learning sticks so much better than listening to me talk for ten minutes.
Less lecture. More discovery.
Finally, we talk about moulding
We slide paper pieces over each other or use our hands to show how the skull bones overlap during labour.
And that’s when someone always says:
“So that’s how they fit through!”
Yes. Exactly that.
Suddenly birth mechanics make total sense.
Not scary. Not mysterious. Just clever biology.
Why printable worksheets work so well (especially for busy educators)
I love teaching tools that don’t require:
- batteries
- Wi-Fi
- apps
- or 20 minutes of prep
Simple printable foetal/fetal skull anatomy worksheets are brilliant because they’re:
- easy to print for any class size
- available in colour or black and white
- great for labelling activities and revision
- accessible for visual and kinaesthetic learners
- ideal for antenatal classes, doula training, midwifery education, and Family & Consumer Science lessons
- something learners can take home to revisit
Laminate them and they’ll last forever.
Pop them in a folder and you’ve got a ready-to-go childbirth education activity any time you need one.
Future you will be very grateful.
The bigger picture
At the end of the day, this isn’t really about memorising anatomy terms.
It’s about confidence.
When parents understand how their baby’s head is designed for birth, you can almost see their shoulders drop.
They trust the process more.
They feel less overwhelmed.
They ask better questions.
And that’s what good birth education is all about.
Clear information.
Less fear.
More “I can do this”.
All from a few small bones and a simple diagram.
Not bad for a bit of paper, really.
If you like having ready-to-print foetal/fetal skull anatomy worksheets, diagrams, and cut-and-stick activities on hand, a set prepared makes life much easier. This is especially true on days when your brain is already juggling ten other things.
Because your time is better spent supporting families… not sketching skulls at the last minute with a dying whiteboard pen.
Find my printable here on my website or for the international market in my TPT shop.